Godot 4 Project Setup: What to Do Before You Build Anything
Godot 4 Project Setup
Most Godot projects don’t get messy because of bad code. They get messy because of decisions nobody made on day one: where files go, what the input actions are called, which renderer you picked and why.
Spend an hour on the points below and you’ll avoid most of the cleanup that hits projects around the 50-scene mark. We’ve kept it practical, so you can work through it with a coffee and a fresh project. It’s written for Godot 4.x, as of October 2026.
What to Do Before You Build Anything
Pick your renderer first
When you create a project, Godot asks for a renderer. Switching later is possible, but once you have materials and lighting set up, it can mean real rework.
| Renderer | Pick it when | Watch out for |
|---|---|---|
| Forward+ | Desktop 3D with modern lighting and effects | Heavier on low-end hardware |
| Mobile | 3D on phones or tablets | Fewer features than Forward+ |
| Compatibility | 2D, web exports, older hardware | Some advanced 3D features are missing |
A simple rule: choose for your target platform, not for the most impressive screenshot. A small 2D game headed for the browser belongs on Compatibility. A desktop 3D game with dynamic lighting belongs on Forward+. If you’re unsure, check what your target platform supports in the official docs before committing, since renderer support changes between versions.
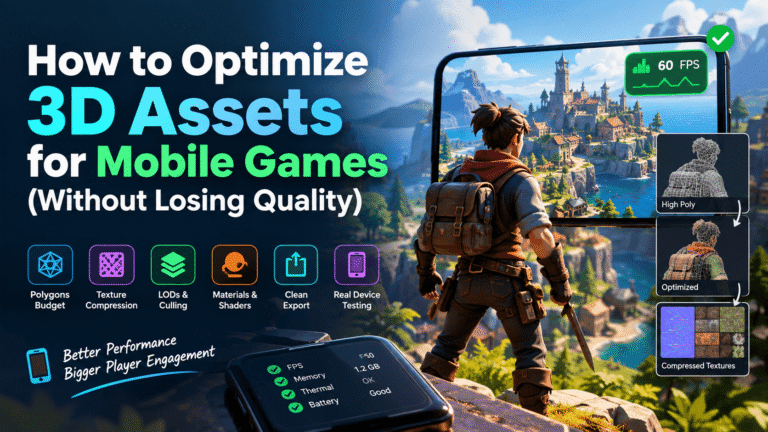
Working on a mobile project? Our guide to the 12 best Godot assets for mobile games is a good next step, and how to optimize 3D assets for mobile games covers the performance basics.
Set up Git before your first scene
Do this before you create anything else. Godot can generate version-control metadata when you create the project, or later via Project > Version Control > Generate Version Control Metadata.
The one thing that matters most is your .gitignore:
.godot/
*.translation
The .godot/ folder contains editor-generated cache and imported data that Godot can regenerate, so it should generally stay out of version control.
The *.translation rule is included in Godot’s common Git ignore setup, but review it based on your project’s needs. If your workflow intentionally tracks files matching this pattern, adjust the rule accordingly.
Commit regularly, especially after importing a large asset pack or changing project settings. Being able to roll back an import you regret is worth the habit.
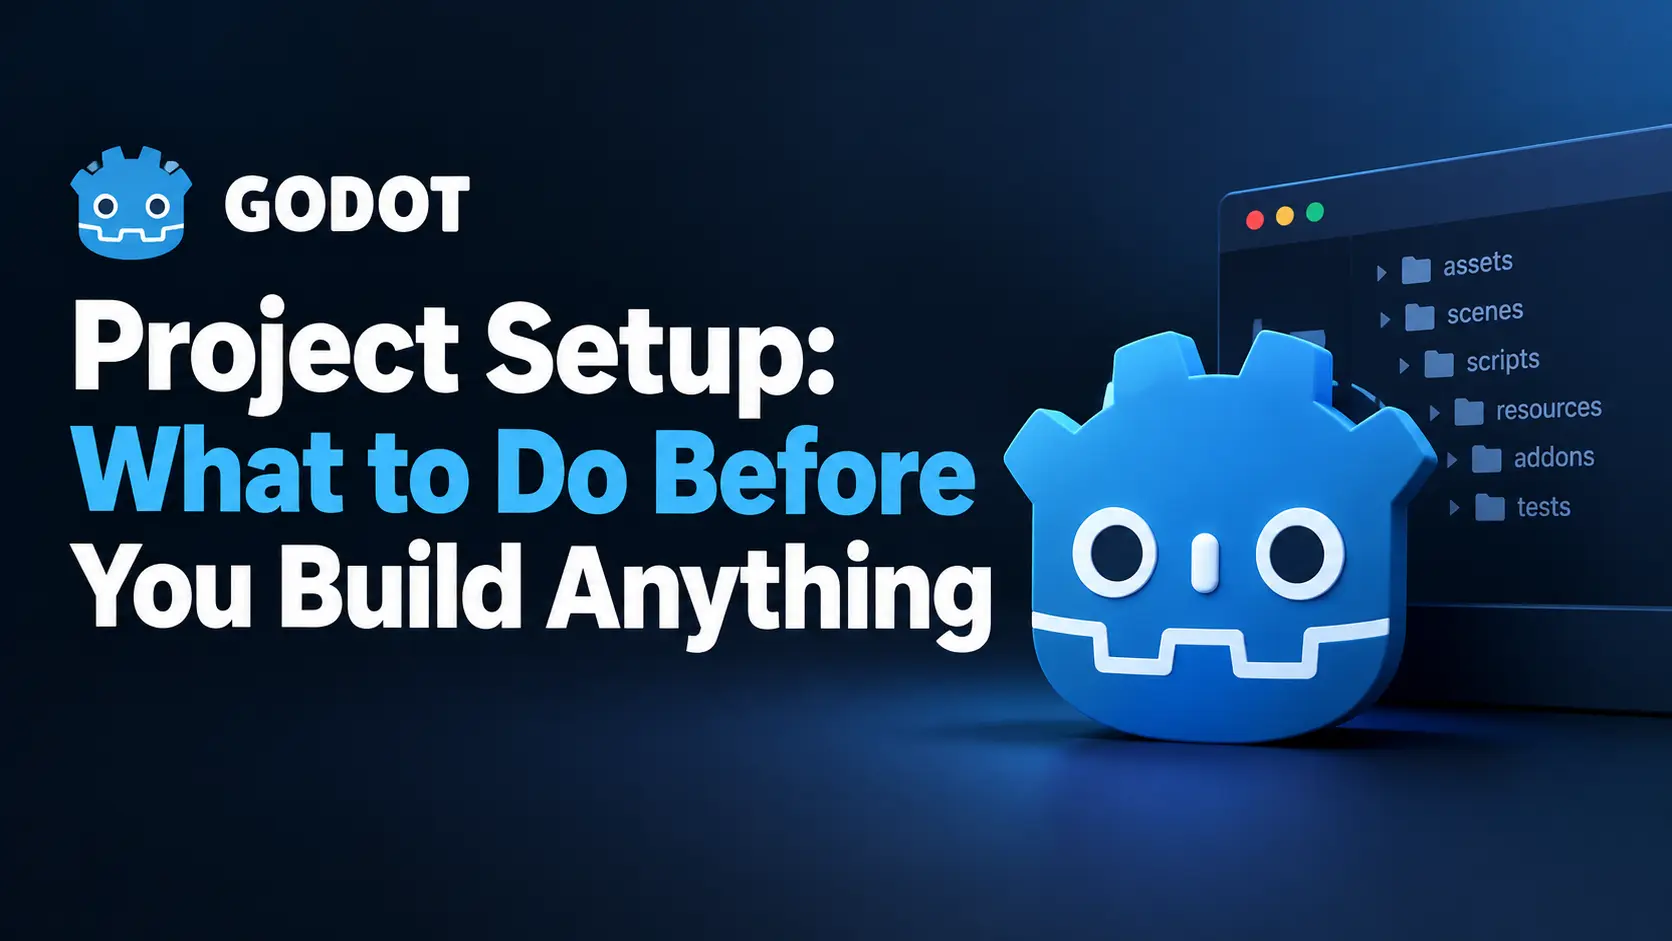
Give your files a home
Don’t let everything pile up in res://. Godot references resources by path, so a predictable layout means fewer broken references later.
res://
├── assets/        (audio, fonts, models, sprites, textures, ui)
├── scenes/        (levels, characters, ui)
├── scripts/
├── resources/
├── addons/
└── tests/
This is a starting point, not a law. The real rule is that your teammates (or you in six months) can guess where a file lives without searching. Keep source files like .blend and .psd outside the game folder or in a source_assets/ directory so they don’t get imported by accident.
Configure the settings you’ll regret ignoring
Open Project > Project Settings and handle these early:
- Input Map: define actions like
move_left,jump,interactandpausenow. Hardcoded key checks in scripts make controller support and rebinding a chore later. - Physics layers: give collision layers real names (“player”, “enemy”, “world”) before you build levels. Layer 7 means nothing to you in three months.
- Window size and stretch mode: decide your base resolution early. It’s especially important for pixel art and mobile.
- Main scene: set a simple boot scene so exports always start somewhere sensible.
- Autoloads: use them sparingly. A
SaveManagerorAudioManageris a good fit. If you’re tempted to autoload everything, that’s a sign to rethink the design.
Input actions and layer names take minutes now and hours to retrofit later.
Use third-party assets without wrecking your project
This is where projects get messy fastest. Free and paid packs from sources like Fab, itch.io or the Godot Asset Library come with their own scale, naming, texture sizes and licenses.
Some habits that help:
- Check the license before you import, not after. Look at what it allows for commercial use, modification and redistribution.
- Check the format. Godot works best with glTF/GLB for 3D. FBX and
.blendcan work too, but results vary. Many marketplace listings are made for other engines, so make sure the pack includes formats Godot can actually use. Engine-specific content such as Unreal Blueprints or Unreal-only materials won’t carry over. - Open it in a scratch scene first. Test scale, materials and animations in a throwaway project or branch, then move the good parts into your real project.
- Fix import settings per asset type: texture compression, mesh options, animation import. Oversized textures and unused meshes are the usual culprits for bloat.
- Name textures consistently, like
sword_albedo.png,sword_normal.png,sword_orm.png. - Extract materials from imported scenes if you want to edit or reuse them.
- Keep a credits file with the asset name, author, source URL and license. Future-you will need it.
Marketplace listings and their supported formats change over time, so always read the current listing details.
Be picky about plugins
Every addon is something you have to keep updating. Install a plugin when you hit a real problem, not because it’s popular.
Fine on day one: the Godot Git Plugin if you like Git inside the editor, and a GDScript formatter if you work in a team.
Skip until you need it: dialogue systems (a simple custom resource often does the job), state-machine or behavior-tree addons (overkill for a puzzle prototype), and anything an asset pack doesn’t explicitly require.
Build a smoke-test scene
Before real gameplay, make one tiny scene that proves the basics work together: a camera or player, one input action that moves something, a label showing the version, a placeholder sound, and one asset in your intended art style.
Then do a quick test export. Catching an export problem on day one is far cheaper than catching it a month before release.
Write a short README
Five minutes now saves a lot of questions later. Include:
- Godot version and renderer, with the reason
- Folder rules and naming conventions
- Required external tools (Blender, etc.)
- Plugins and why each one is installed
- How to open, run and export
Common mistakes to avoid
- Committing
.godot/to the repo - Choosing a renderer based on looks instead of target platform
- Importing a huge asset pack straight into the main project
- Leaving collision layers unnamed
- Installing five plugins “just in case”
- Not recording where an asset came from or what its license says
Quick checklist
- Renderer chosen for your target platform
- Git initialized,
.godot/ignored - Folder structure created
- Input Map and physics layers named
- Main scene and stretch settings set
- Asset import and naming rules decided
- Credits/license file started
- Smoke-test scene exported once
- README written
Bottom line: If you only do three things before your first scene, pick a renderer for your target platform, keep .godot/ out of Git, and name your input actions and collision layers. The rest can wait a week, but those three are painful to fix later. If something here has changed in a newer Godot release, let us know through the Contact page and we’ll update it. Happy building!