How to Connect an MCP Server to Unreal Engine and Unity (Step-by-Step Guide)
Ever caught yourself copy-pasting a console error, a scene hierarchy, and half a script into an AI chat, just to get one decent answer? Yeah, we’ve all been there. It’s slow, it’s messy, and the assistant still doesn’t see what you see.
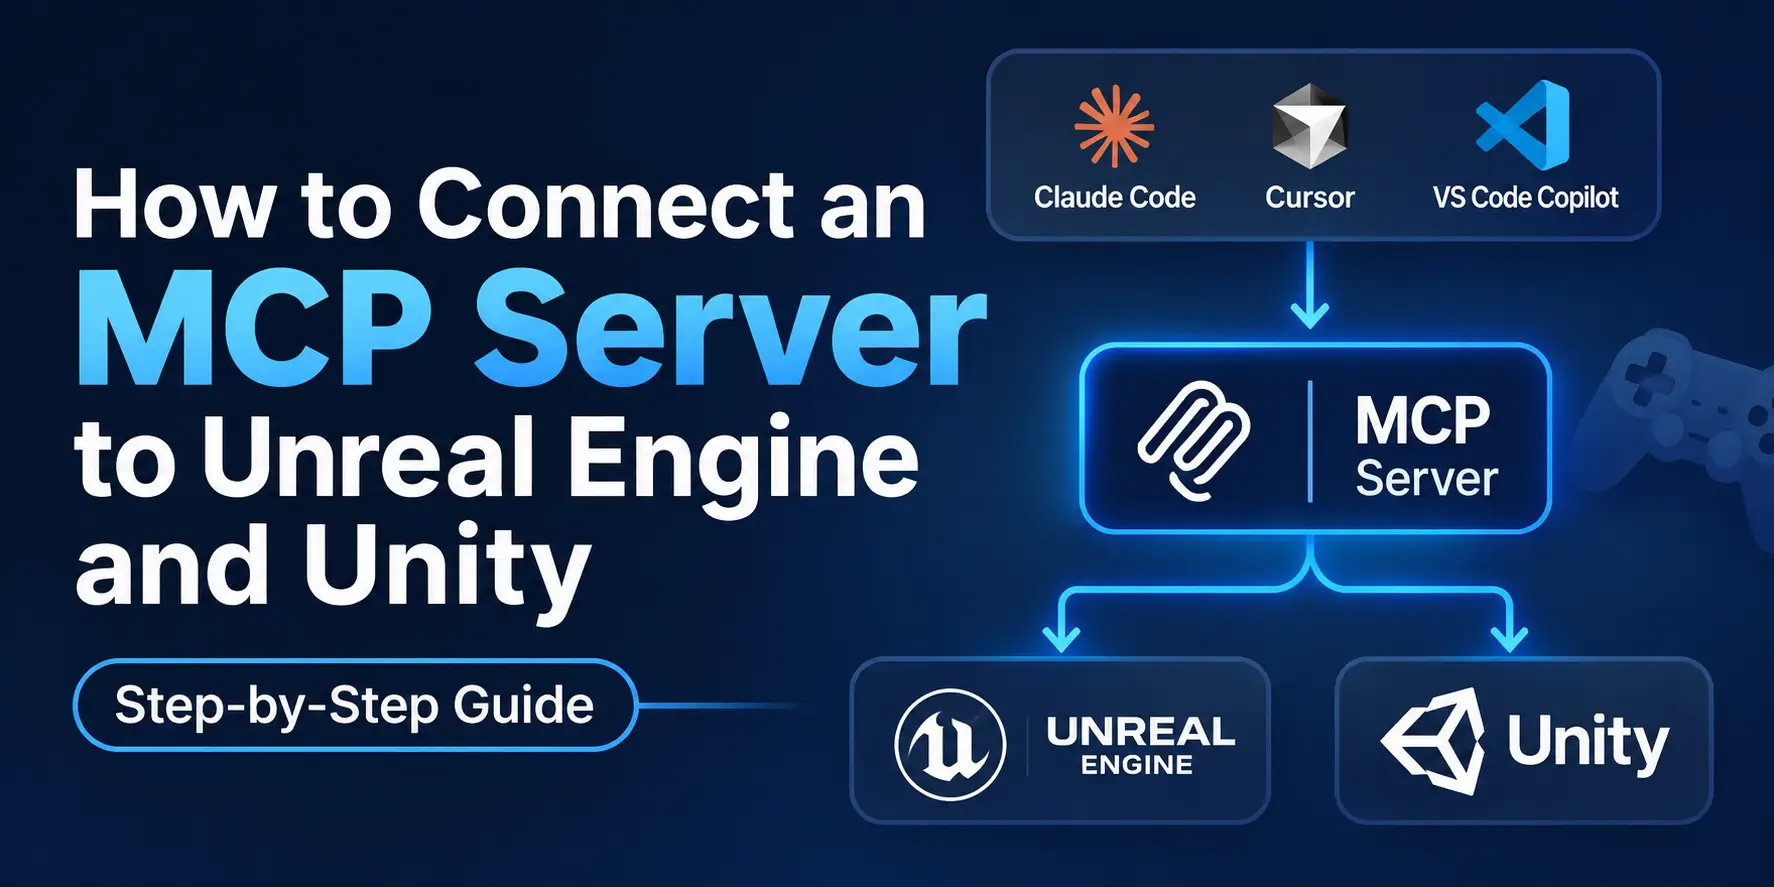
That’s exactly the problem MCP (Model Context Protocol) solves. It lets AI coding assistants like Claude Code, Cursor, or VS Code Copilot work directly with your live Unreal Engine or Unity project through structured tools. No more copy-paste gymnastics.
In this guide, we’ll walk through what an MCP server is, how to connect one to Unreal Engine and Unity, and how to use it safely in a real game-development workflow.
What Is an MCP Server?
MCP is an open protocol that gives AI agents a standard way to talk to external apps and data sources. In a game engine, the MCP server exposes editor features as callable tools. Think of things like:
- Reading console output
- Inspecting a scene or hierarchy
- Editing a script
- Spawning an actor
- Running an automation test
Here’s the key thing to remember: the MCP server doesn’t replace your engine. It’s a controlled bridge between the editor and an MCP-compatible AI client. You stay in charge; the assistant just gets eyes and hands inside your project.
Why Use MCP in Game Development?
Game projects are a web of connected systems: scenes, prefabs, Blueprints, C++ or C# scripts, assets, shaders, animations, UI, and build settings. Explaining all of that to an AI by hand? Exhausting and easy to get wrong.
With MCP, the assistant can pull project context straight from the running editor. Unity describes this as letting agents inspect scenes, read console output, edit scripts, and trigger Editor actions without manual copy-pasting.
Here are some everyday use cases:
- Debugging: “Read the latest Unity console errors and suggest a fix.”
- Scene work: “List the actors in the current Unreal level.”
- Scripting: “Create a C# component that rotates the object around its Y axis.”
- Editor automation: “Create a material instance and assign it to the selected actor.”
- Testing: “Run the project’s automation tests and summarize failures.”
Unreal’s MCP implementation can also expose tools for spawning actors, configuring lighting, creating material instances, inspecting Slate widgets, and running automation tests.
Before You Start
A quick checklist so you don’t hit a wall halfway through:
- A supported version of Unreal Engine or Unity
- An MCP-compatible AI client, such as Claude Code, Cursor, Windsurf, or VS Code Copilot
- A local project under version control (Git is ideal)
- Permission to enable editor plugins and run a local MCP server
One more thing: treat MCP as a development-time workflow, not necessarily something to ship with your game. Epic describes Unreal MCP as experimental and advises caution when shipping with it.
How to Connect MCP to Unreal Engine
Unreal Engine runs an MCP server inside the Unreal Editor process. Compatible agents connect to it over a local HTTP connection and drive editor functionality through typed tools.
Step 1: Enable the required plugins
Open your project and go to Edit > Plugins. Enable:
- Unreal MCP
- The toolset plugins you plan to use
Working with procedural content? Epic also recommends enabling the PCGToolset plugin and loading the PCG toolset through your LLM or MCP client.
Step 2: Configure the MCP server
- Enable the Unreal MCP and All Toolsets plugins.
- Set up auto-start if you want the server to launch with the editor.
- Generate the MCP client configuration file.
- Start your AI agent from the project root.
- Optionally, use Unreal’s integrated Terminal plugin to keep everything inside the editor.
The generated config file tells your AI client where the local MCP server lives and which tools it can use.
Step 3: Connect your AI client
Launch your MCP-compatible agent from the project or workspace root where the config files were generated. Epic notes that Claude Code, Cursor, and MCP Inspector can all connect to Unreal MCP.
Once you’re in, start with something low-risk:
“List the actors in the current level.”
Then try a small, controlled write operation:
“Create a Point Light 300 units above the origin.”
If both work, you’re set: the assistant can read your project state and make changes.
How to Connect MCP to Unity
Unity’s MCP Server links external AI clients to the Unity Editor through standardized MCP tools. It works with agents like Claude Code and Cursor, and it can help manage scenes, assets, scripts, and console output.
Step 1: Open Unity MCP settings
In the Unity Editor, head to:
Edit > Project Settings > AI > Unity MCP
This is where you check that the Unity MCP bridge is running and manage connection settings.
Step 2: Start the MCP bridge
Make sure the bridge is active before you try to connect your AI client. If it isn’t running, the client may report the server as unavailable even though Unity is wide open.
Step 3: Add the server to your AI client
Configure your client to connect to the Unity MCP server. Unity supports external clients including Claude Code, Cursor, Windsurf, and VS Code Copilot.
Again, begin with read-only prompts:
“Inspect the active scene and summarize its main GameObject hierarchy.”
Then move on to something actionable:
“Find all objects with the missing-script warning and list them.”
A Simple Workflow You Can Copy
Once you’re connected, here’s a workflow that keeps things smooth and under control:
- Describe the goal clearly. “Create a simple pickup system in Unity: a rotating coin, a trigger collider, and a score counter.”
- Ask for a plan first. “Before editing anything, list the files and GameObjects you plan to create or modify.”
- Approve the implementation. “Create the script and attach it to a new GameObject named Coin.”
- Validate the result. “Check the Console for errors and confirm the component is attached.”
- Review in version control. Look over the diff before committing, especially for generated code or scene changes.
This way the AI stays genuinely useful, and you never lose control of your project.
Security and Safety Best Practices
MCP can read and modify your project, so treat it like handing an assistant the keys to your dev environment. A few habits go a long way:
- Use version control. Commit before big AI-driven changes so you can review or roll back.
- Start with read-only tasks. Let the assistant inspect scenes, logs, and scripts before you allow writes.
- Review generated code. AI can produce code that looks right but isn’t.
- Keep secrets out of prompts. Don’t put API keys, signing credentials, or private server details in prompts or project files unnecessarily.
- Limit tool access. Enable only the toolsets the task actually needs.
- Experiment on a branch. A separate branch or test project is perfect for scene generation or automation experiments.
And since Unreal MCP is experimental, its API and behavior may change in future engine releases.
Common Problems and Quick Fixes
The AI client can’t find the server
Check that:
- The engine editor is open
- The MCP plugin or bridge is enabled
- The MCP server is running
- Your AI client was launched from the correct project root, or has the right local server URL
The assistant can read but can’t modify anything
Some clients and configurations separate read and write permissions. Look at your client’s tool permissions and make sure the relevant editor tools are turned on.
The assistant makes scene changes you didn’t want
Slow it down. Ask for a plan first, then execute one step at a time. For example: “Do not modify the scene yet. First list the objects you would create and the properties you would change.”
Generated code won’t compile
Ask the assistant to read the console output through MCP and fix the specific errors. This is one of the biggest perks of an MCP workflow: it sees the real compiler or runtime feedback instead of guessing.
When Is MCP Worth Using?
MCP shines on repetitive, context-heavy work:
- Debugging build or runtime errors
- Creating boilerplate components and editor utilities
- Inspecting large scenes or hierarchies
- Automating asset and object setup
- Running and interpreting tests
- Explaining an unfamiliar project structure
It’s less helpful when the task comes down to creative judgment: gameplay feel, art direction, or design decisions that need real human playtesting.
Frequently Asked Questions
What is an MCP server in Unreal Engine or Unity?
It’s a local bridge that exposes editor features, such as scene inspection, script editing, and console access, as tools an AI client can call.
Which AI clients work with MCP for game engines?
Claude Code, Cursor, Windsurf, and VS Code Copilot are commonly used. Epic specifically notes that Claude Code, Cursor, and MCP Inspector can connect to Unreal MCP.
Is Unreal MCP ready for production?
Epic describes it as experimental and recommends caution when shipping with it, so it’s best treated as a development-time tool.
Is it safe to let an AI edit my project?
It can be, if you use version control, start with read-only prompts, review generated code, and limit tool access.
Final Thoughts
Connecting an MCP server to Unreal Engine or Unity turns your AI assistant into a context-aware dev partner. Instead of explaining your project over and over, you let the assistant look around, read errors, write scripts, and handle controlled editor tasks.
Start small, commit often, review every change, and widen the workflow only as your trust grows. Used thoughtfully, MCP can cut a lot of manual context-switching out of your day, while the final creative calls stay firmly with you.
Looking for more tools and resources for your next project? Keep exploring Gameassetly for game development guides and assets.
You Might Also Like Our unity Ai Npc Tools Post…